| |
Do it yourself ...
Pyrography is not necessarily an expensive
hobby : even for about � 100 the basic
equipment, with which the first steps are
made, can be obtained.
In this pages we will show and explain you
the basics about pyrography, and give you some
information about the equipment needed to try
it by yourself.
Only experience can teach you :
There is only one rule in pyrography : only
experience can teach you.
Try it, try it again, day after day, ... and
above all, believe that also you can do it
!
|
|
|
| |
|
|

|
| |
|
|
|
| |

|
| |
Relief pyrography
|
|
|
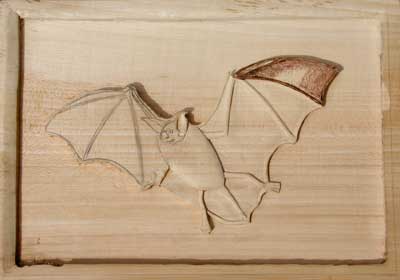
After mastering most facets of pyrography, you may be
tempted to work the wood yourself by applying
embossments to create an additional dimension in the
pyrography works.
As with standard pyrography work, you start by
applying a design in pencil on a planed piece of
wood.
|
| |
|
| |
The use of linden wood is essential. Linden wood is
soft and its homogenous weaving structure allows for
easy incisions. With a fraise, mill a groove of
maximum depth on the outer border around the drawing.
This leaves a border that you can use as a frame for
the pyrography work.
|
| |
|
| |
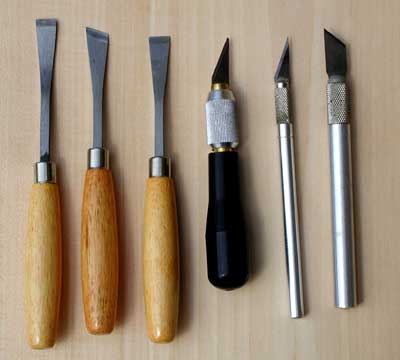
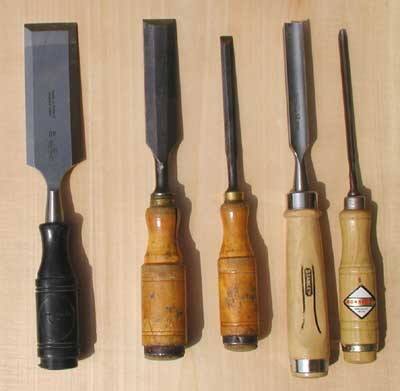
The next step is to very carefully remove/cut away
the excess wood. For this procedure, you would use the
typical tools of a wood sculpture: first, you cut
alongside the pencil drawing with small handheld
cutting knifes ; then, the first wood mass is cut away
with a set of small chisels. It may be necessary to
apply larger chisels of fitting form to remove other
wooden parts, among others with a hollow chisel, or
with round or flat chisels.
|
| |
|
| |
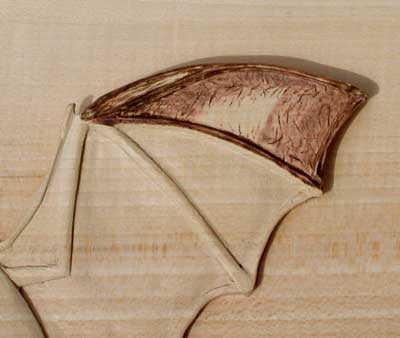
This process requires constant thinking of what
must be cut away and what must remain. If you wish
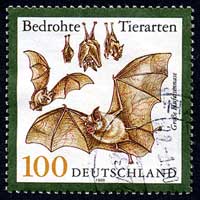
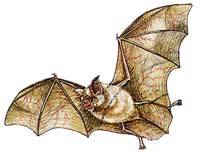
to make diagonal areas, as with the bat bellow, they
must connect logically to the protruding parts as
with the nerves below.
|
| |

|
| |
|
| |
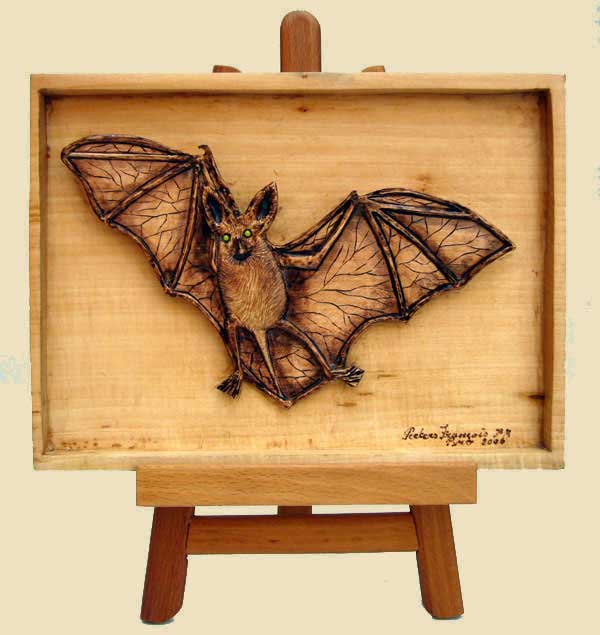
Once the desired embossed design has been obtained,
everything must be carefully worked on with various
sandpapers. Once this step has been completed, only
then can the actual pyrography work start. The
grooves that are burned into the wood support the
embossing. The combination of embossment and color
offer the pyrographer an almost unlimited array of
possibilities.
|
| |
|
| |
|
| |
|
|
|