Do it yourself ...

Pyrography is not necessarily an expensive hobby : even for about � 100 the basic equipment, with which the first steps are made, can be obtained.

In this pages we will show and explain you the basics about pyrography, and give you some information about the equipment needed to try it by yourself.

Only experience can teach you :

There is only one rule in pyrography : only experience can teach you.

Try it, try it again, day after day, ... and above all, believe that also you can do it !


From tree to ...

The basis material for pyrography is wood, or sometimes leather or velour. Although all sorts of wood can be used but to obtain the beautiful results, soft white wood with a fine and regular structure such as lindens wood should be used to obtain the best results.

It is important that the wood has been thoroughly dried. A tree stump is cut in slates of approximately 2.5 centimeters (1 inch) thick. These are separated by little pieces of wood to promote air circulation in between the slates, and sometimes the slates are stored for drying for more than one year.

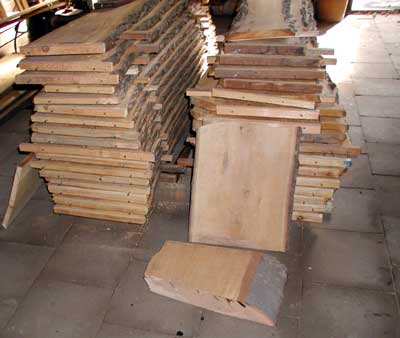
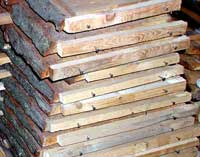
To prevent that the wood splits while drying, tiny slates are nailed into the top of the wood.


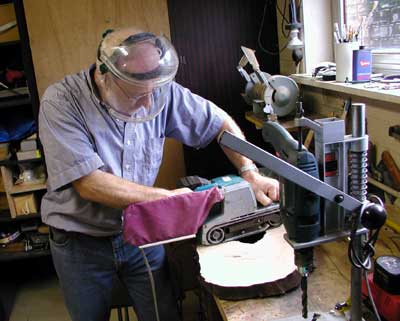
Before a slate can be worked on, it needs to be sanded down first. This used to be done manually, but thankfully, it can now be done with machines.

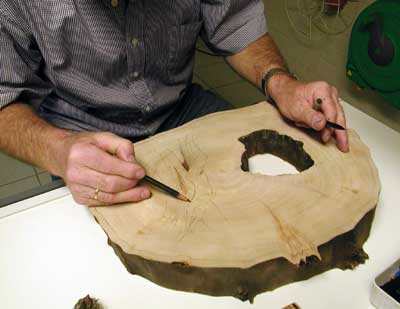
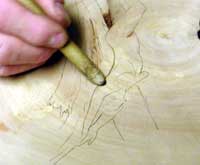
The drawing of the subject is directly applied to the wood with pencil.

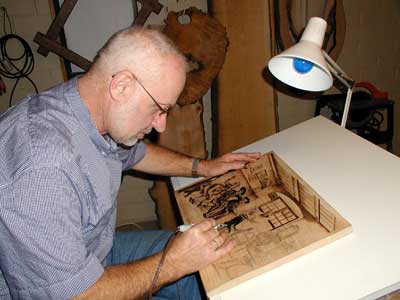
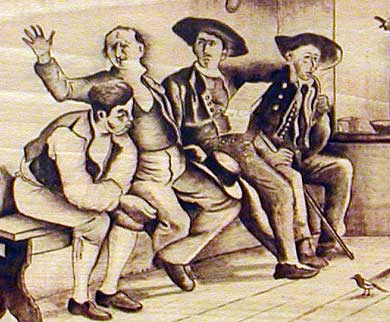
Then, the design is burned with several different pyrography styluses

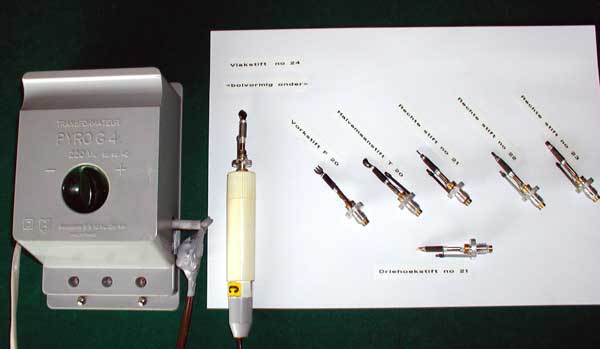
Different styluses are used for dots, letters, flat and curved lines, larger surfaces, carvings, aso� By changing the temperature coloured patterns can be obtained, going from light brown to nearly black.


The design is burned with several different pyrography styluses.
 

Finally, the protective varnish is applied.