| |
Do it yourself ...
Pyrography is not
necessarily an expensive
hobby : even for about � 100
the basic equipment, with
which the first steps are
made, can be obtained.
In this
pages we will show and explain
you the basics about pyrography,
and give you some information
about the equipment needed to
try it by yourself.
Only experience can
teach you :
There
is only one rule in
pyrography : only experience
can teach you.
Try
it, try it again, day after day,
... and above all, believe that
also you can do it !
|
|
| |
|
 |
|
| |
 |
| |
The
first step |
|
Copying
the basic drawing onto wood.
|
| |
If you cannot see this movie, check the configuration of your
browser.
|
| |
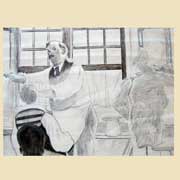
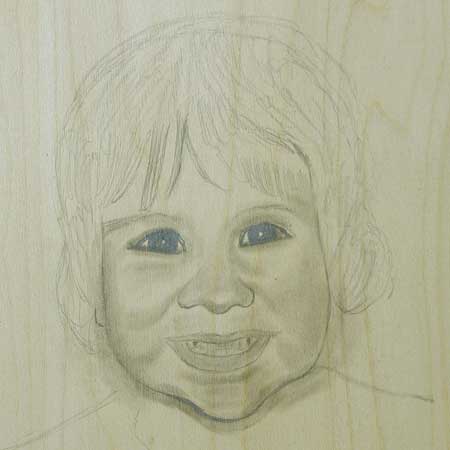
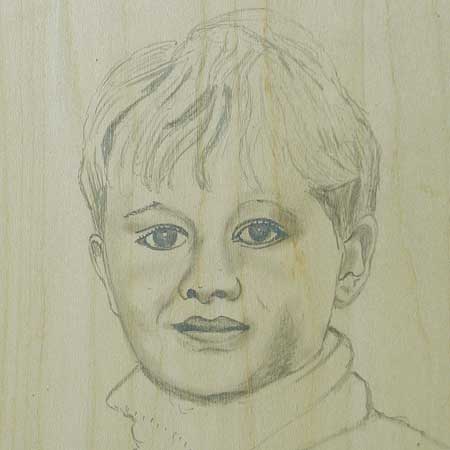
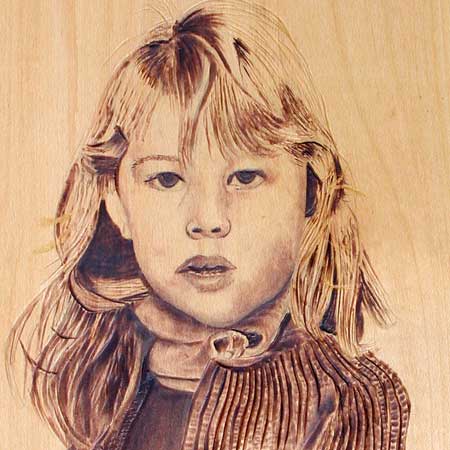
A good pyro
artwork starts with a correct basic drawing.
The more details are transferred, the easier
it will be afterwards to burn the subject.
Click on
the following picture to see an half
finished pyro, and then the final result. |
| |
|
| |
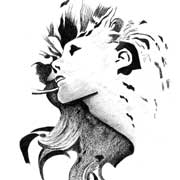
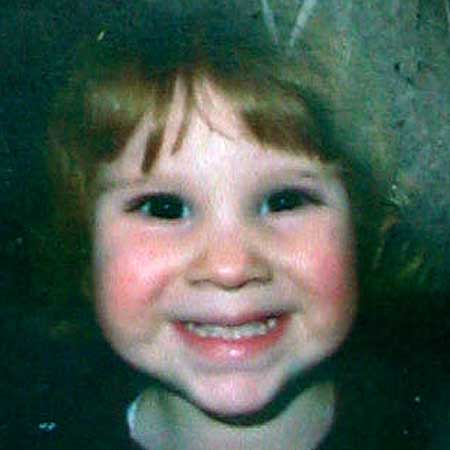
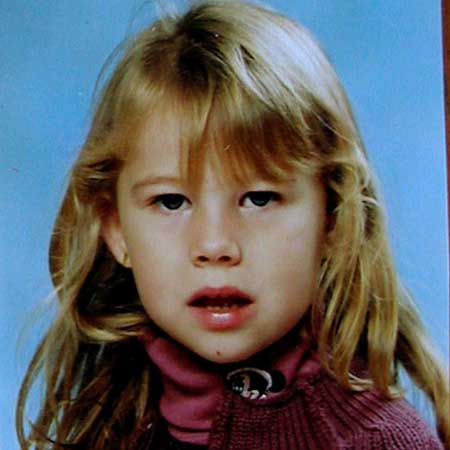
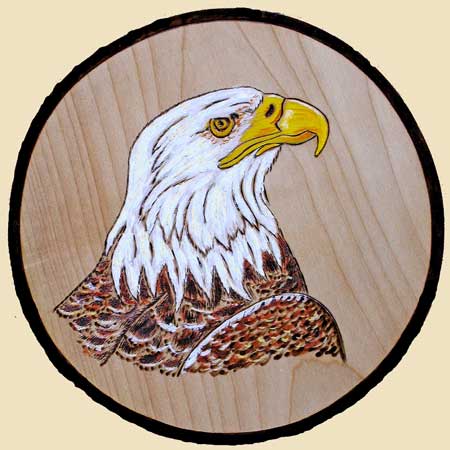
Look at some examples,
first the original picture, then the
drawing, finally the result. |
| |
|
|
| |
|
| |
|
|
| |
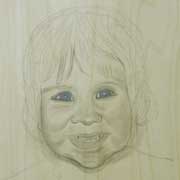
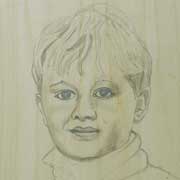
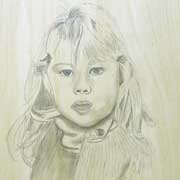
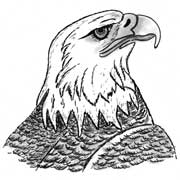
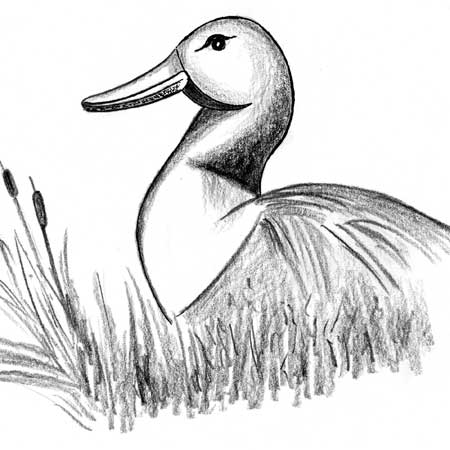
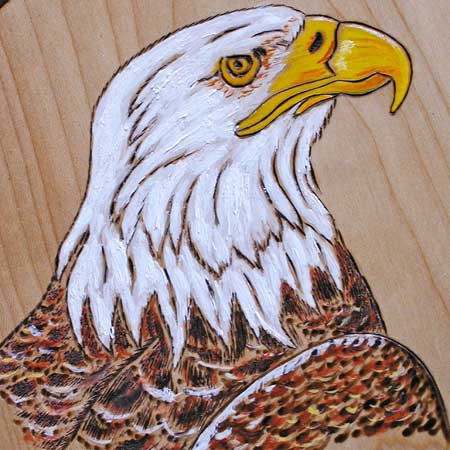
If you are a beginner, it is
of course better to start with a simple
drawing. If you CLICK on the pictures below,
you will find hereafter some example of easy
subjects. The basic drawings are very
detailed, if you want you can use them by
your own. You can even see how the final
result could be. |
| |

|
|
| |
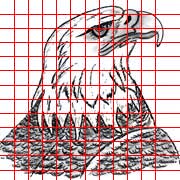
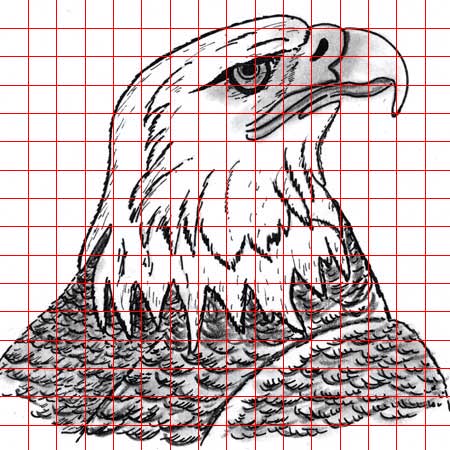
Do not be afraid to use a raster, if this
can help you to transfer to original
drawing. But before you start burning, this
raster has to be removed. |
| |
|
| |
|
| |
If you want to try this one of those subjects, you can download
them (in pdf-format) by clicking on the small pictures below. |
| |
 |
|
|


